Be aware, FX payment can only be scheduled if your account has been configured to allow these. Please speak with your Customer Success Manager to enable this functionality.
In order to schedule an FX payment the following steps must be completed:
- Onboard your supplier
-
Raise a PO
For any payment to be made to a supplier through Yordex, the supplier must first be onboarded. This can be done in 3 ways:
Approving a supplier
Once a supplier is added to Yordex they must be approved by your Supplier Manager. This process is essential to prevent fraud and unwanted payments.
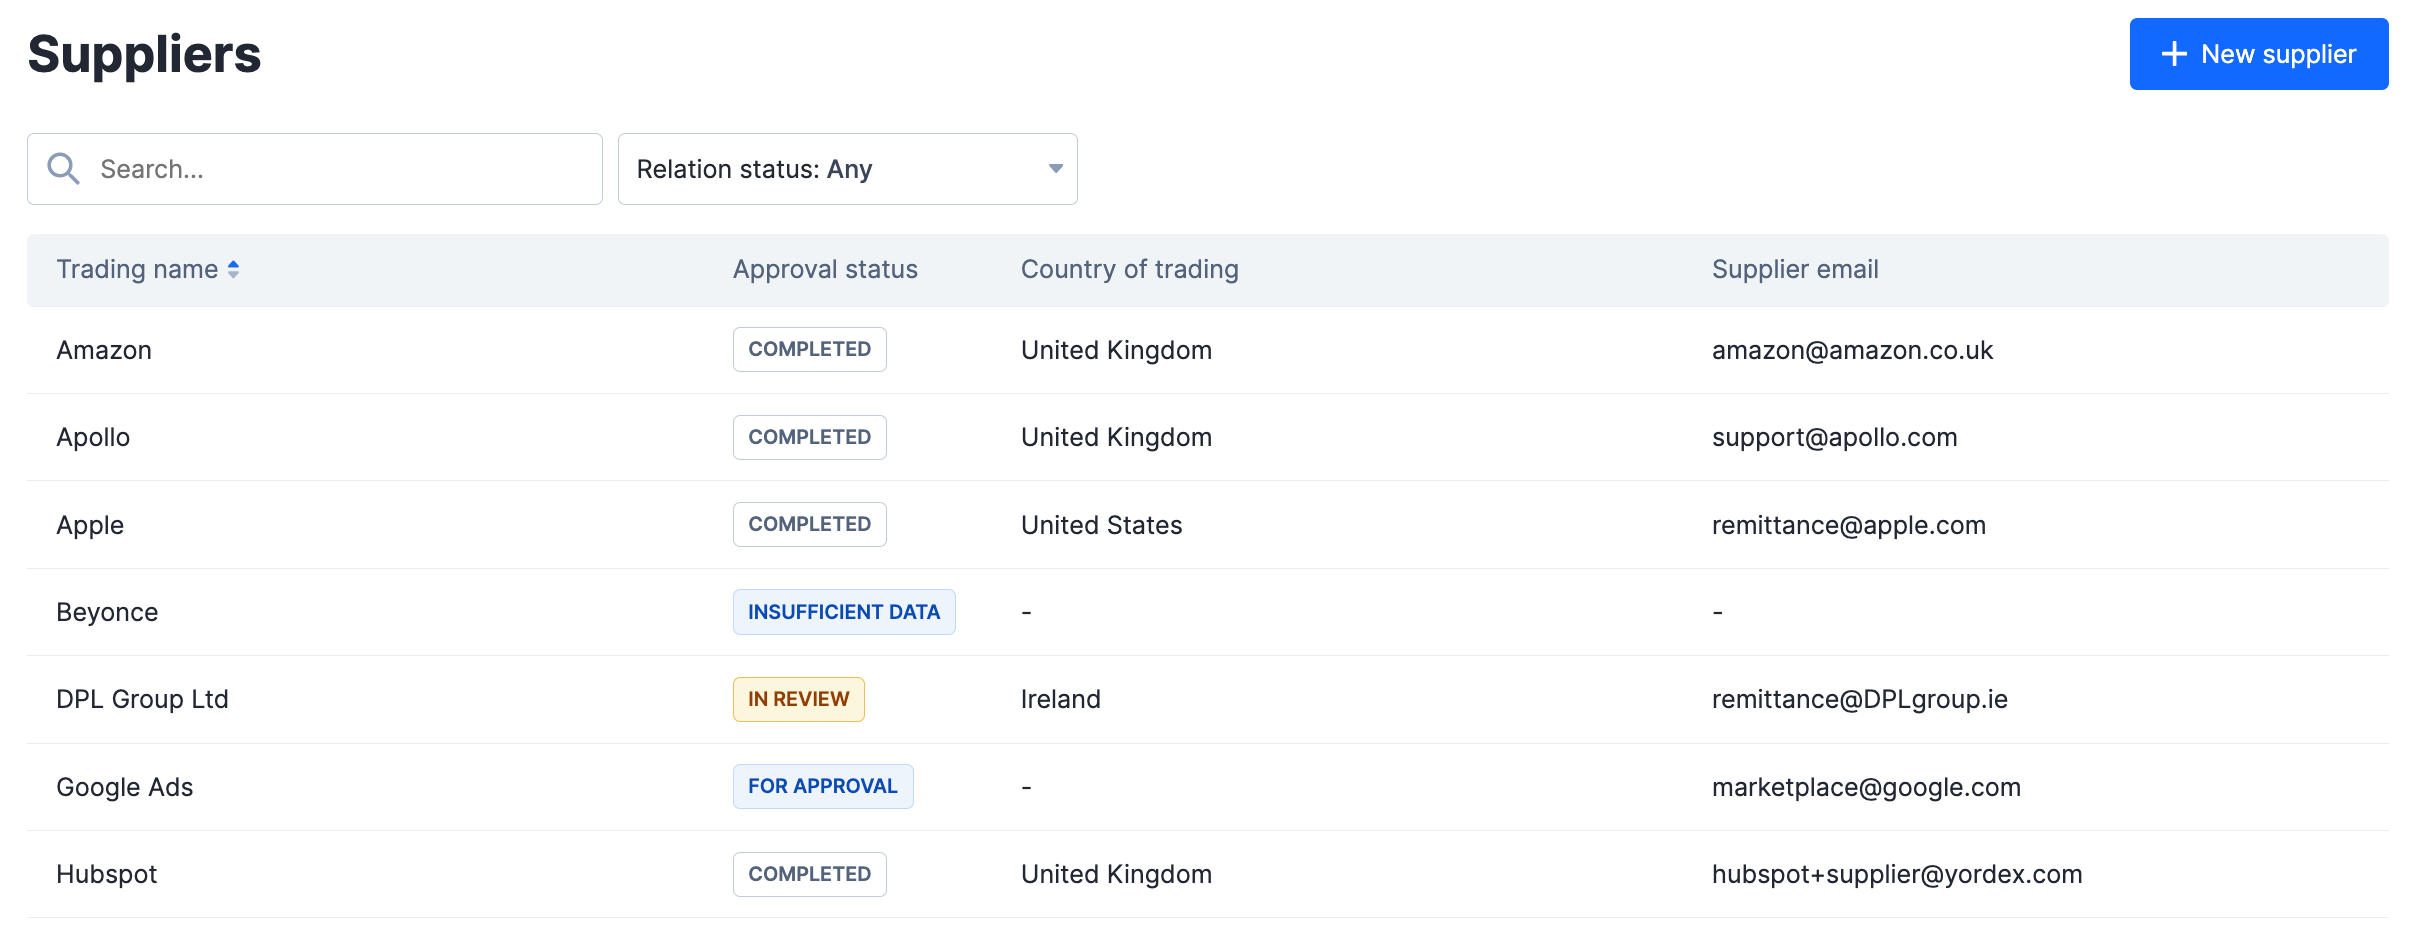
If you are a supplier manager your approval process should ensure the supplier being boarded has the following information:
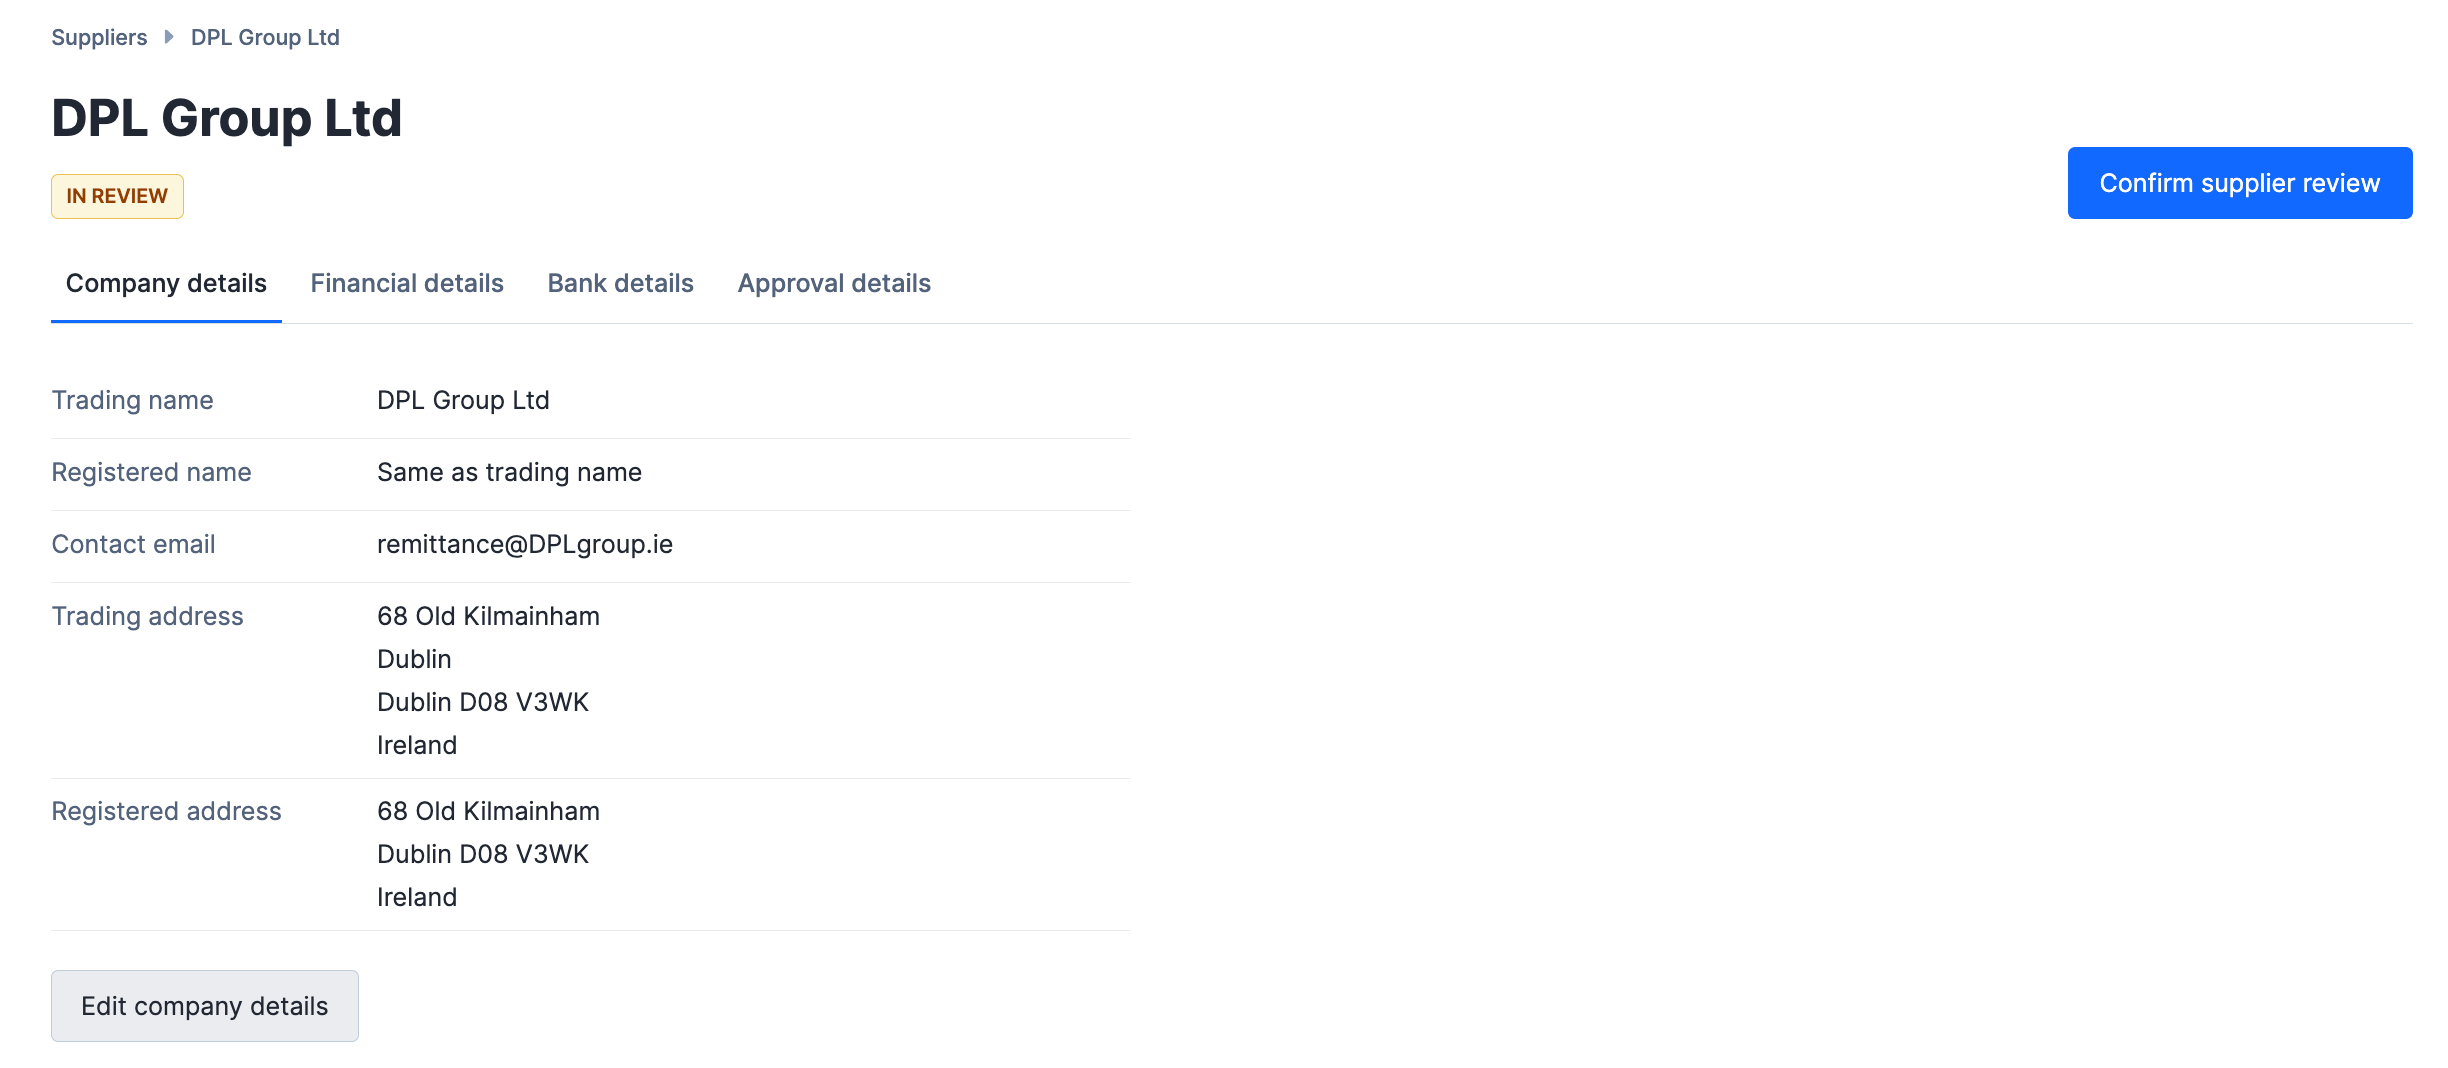
- Basic information: Trading name, address, email (this is where remittance advice will be sent)
- An invoice with a matching PO - suppliers should be added on the basis that they're to be paid. Without a matching invoice/PO the supplier details could be fraudulent.
- Valid bank details (see bank details fields in the supplier page).
- An assigned currency - Yordex will pay suppliers in their currency. This field must be set for a successful payment to be made.
Once a supplier is fully onboarded they are ready to pay. Any changes made to the suppliers bank details after this time will require reapproval.
Scheduling a payment
FX payments - like local payouts - are created by raising a Purchase Order (PO) on the Spend page (for more information on POs see this article).
When raising a PO for an FX payment some basic information must be completed on the new Purchase page:
- Order type - must be Own Payment
- Order currency - should match the invoice currency
- Order amount - should match the invoice amount
- Supplier
- Terms
- Receipt date - payment date will be calculated as Receipt date + Terms
- Description - this will be sent to the beneficiary bank
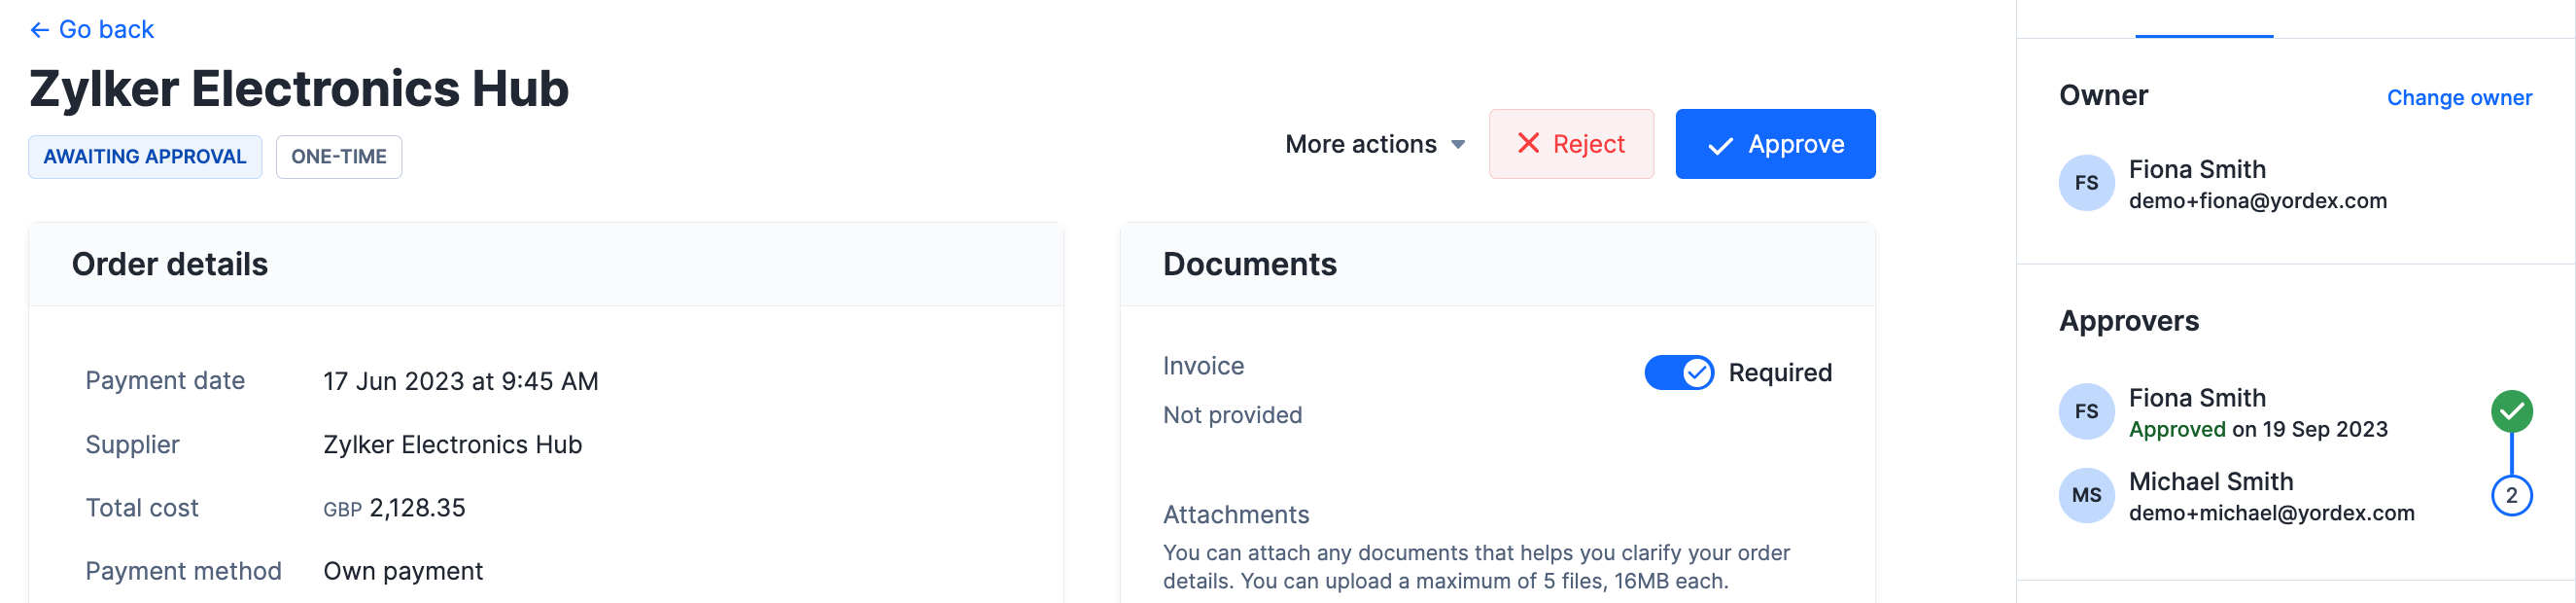
Approving an order
All FX POs must be approved following your existing approval flow. To configure/update this, please speak with your Customer Success Manager.
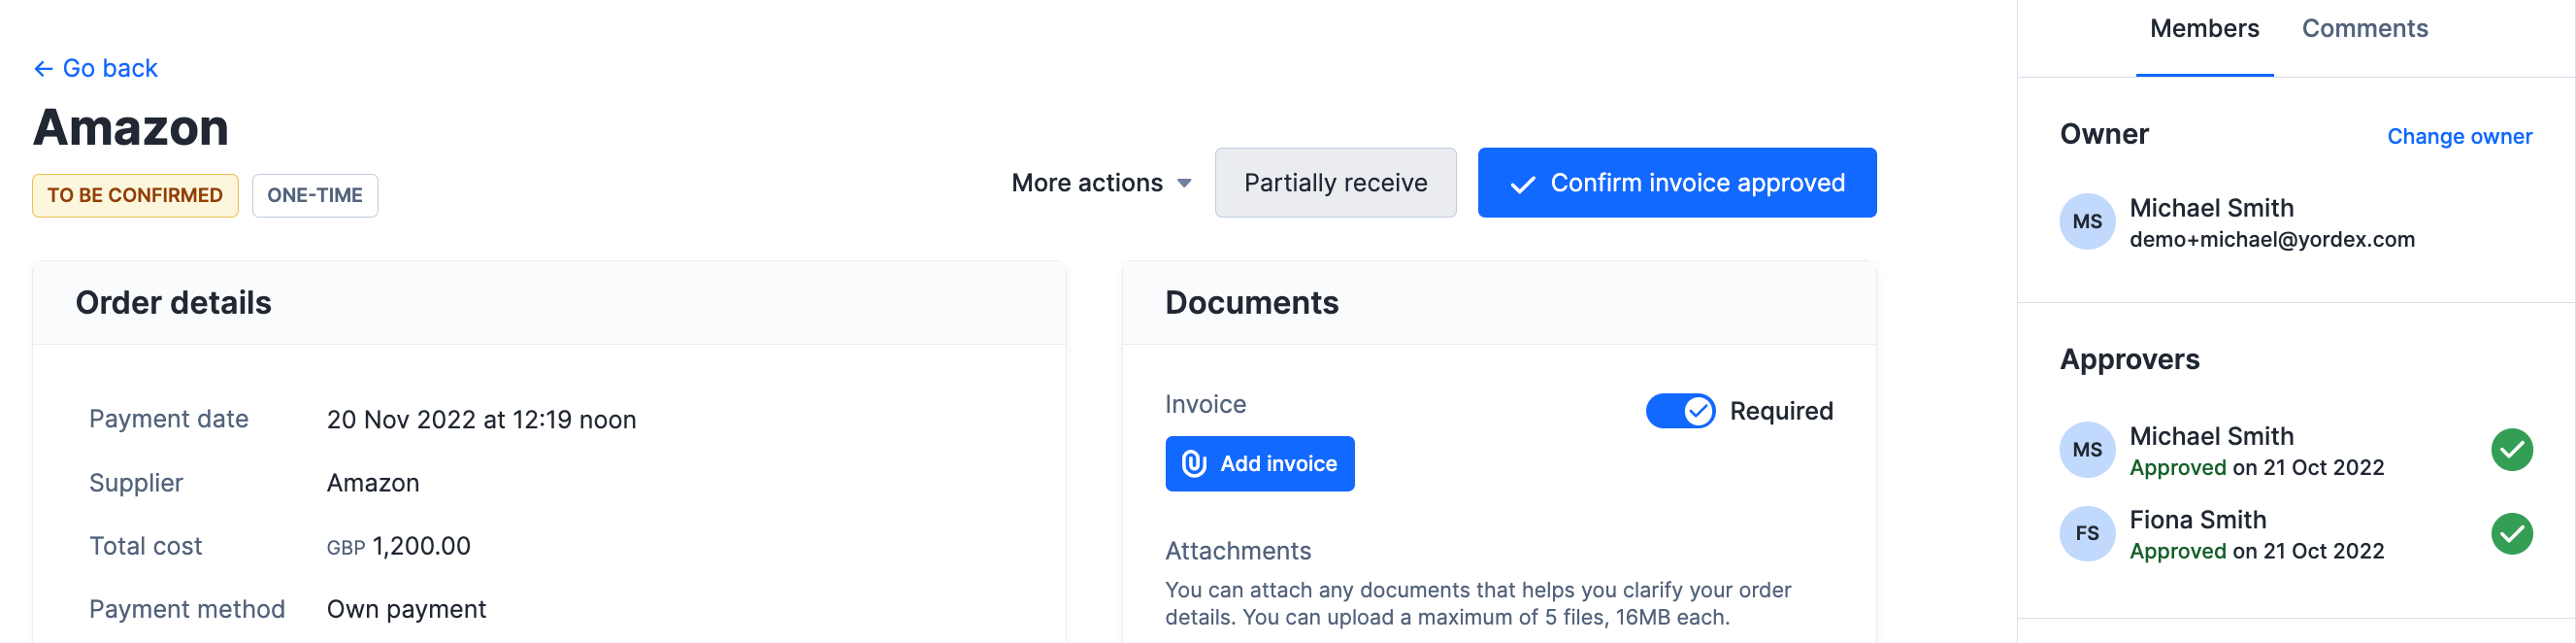
Confirming an order
To ensure no fraudulent payments are made, we also enforce the order is Confirmed before we make the payment. Again, this process will follow your existing confirmation configuration.
This can be fully customised, so please speak with your Customer Success Manager to make any changes.
What happens next?
- An order is ready to be paid once the Awaiting payment status is shown.
- According to the schedule agreed between you and your customer team, payments will be made to ensure no PO is late.
- E.g. on a weekly schedule, where payment date = T, we will pay all orders to be paid until T+6
- Once the order is paid, we will complete the PO and the bank transaction will appear on your statement